
How to Change Spark Plugs at Home in 5 Easy Steps
Car TipsGeneral Info November 7, 2018 0
Spark plugs – they’re one of many parts we often hear about or even see. Those of us who can identify auto components visually know plugs when we lay eyes on them. But even those who don’t have likely at least heard the term.
But what exactly do these components do? We know they’re important for most vehicles, provided they use a certain type of engine, but it is also wise to understand their exact function. This is because the more we know about vehicles, the easier it is to maintain them.
However, the goal isn’t just to maintain a vehicle. The greater aim is to do so affordable, and sometimes this can mean keeping your car out of the garage and doing your routine maintenance in the comfort of your own driveway.
What Are Spark Plugs and What Do They Do?

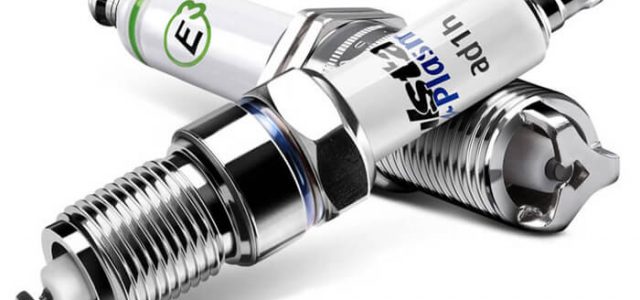
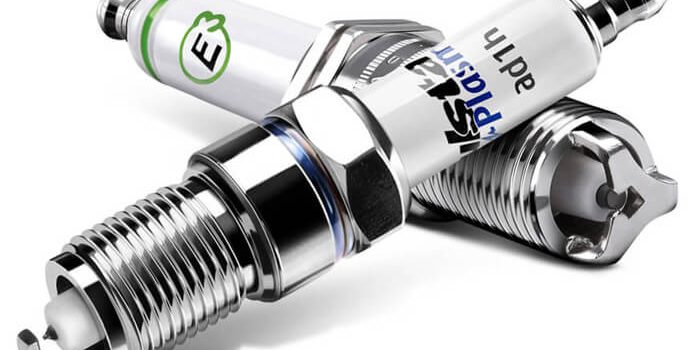
Most modern vehicles utilize combustion engines, and this makes the spark plug an integral part of the setup. Sometimes simply just referred to as plugs, these devices have one primary purpose – to deliver an electrical current.
This current is delivered from the igni+tion system to the combustion chamber of an ignition engine to spark the compressed mixture of fuel and air. This, in turn, serves as a crucial component of the engine’s core processes – meaning they’re critical to a safe and efficient vehicle.
In essence, spark plugs provide the spark necessary to ignite the fuel in your engine. Since we all know that any device designed to create a spark can wear down, the plugs in your car will need changing every so often.
How often should you change these plugs? Ideally, you’ll want to do them by at least 100,000 miles. But it is important to remember that the wear builds up over time – meaning if you have 50,000 miles of use on a set of plugs, they’re halfway to their expiration date!
So change them often, and keep an eye on them. But how exactly can you do this from home? Here are five easy steps you can follow to handle this important vehicular maintenance task on your own.
5 Steps on How to Change Spark Plugs from Home
Do you want to know how to change spark plugs from home? It can help you save money, and help you understand a bit more about the way your vehicle functions.
1. Clean Your Work Area
Once you’ve popped the hood open and have your plugs in sight, the first thing to do is clean around them. Remember, you’re working in a confined area. Even if you know your way around, it is easy for debris to find their way in and around other parts.
You may notice loose dirt or crud around the plugs themselves, and a can of compressed air could be your best tool for knocking said crud loose. Using engine-safe cleaning elements can help you loosen up the crud if need be. It’s also smart to put some clothe or paper material around the plugs while you’re cleaning them off. This can catch the grime before it becomes a problem.
Don’t underestimate the value of this preliminary step. When you’re working around sensitive engine components, you can’t be too careful. This step could add another half-hour to your project. But it could also save you hundreds of dollars and days of carless labor in the future.
2. Start Removing the Old Spark Plugs
When you’re learning how to change spark plugs, you may recoil (no pun intended) upon seeing the wear on your old plugs when you compare them to the appearance of new plugs. To get the old ones off, you may need to remove the vanity cover – they’re included on some models. If you have to disconnect hoses, make sure you label them – it’ll be easier to put everything back the proper way.
For the sake of simplicity in this guide, we’ll assume you’re working with a four-cylinder engine. Methods for six- and eight-cylinder options can vary slightly, with additional variation present depending on the engine design.
Disconnect coils by twisting them enough to break the O-ring seal loose. Then simply lift the coil out – you should be able to pull it straight up. The locking tab for the coil’s electrical connection component could be activated by either pressing down or pulling up on it – different models exist. Once you’ve got this loose, you can remove the bolt and coil entirely.
There may also be a rubber piece and a spring in the compartment as well. If you can see them but can’t reach them with your fingers, never fear – a pair of needle-nose pliers can solve your problem.
3. Check and Install the New Plugs
When you have your new plugs in hand and a space to install them, the next step is critical. Before you go about installing the plugs and setting them up for use, you’ll need to make sure the gap is right.
The distance between the sides and center electrodes of the plug must be exact for it to fire properly. A gap gauge can help you check this. A wire-style gap gauge is usually better, though it costs a little more than a disc-style gap gauge. They’re also less dangerous to the component itself.
After you’ve checked the gap, use a torque wrench to install the plug. When you screw it in, don’t apply too much pressure – this could end up cracking the unit and making it useless.
Look in your vehicle’s owner’s manual, and look over the instructions that come with your plugs. They can provide you with insight on how much torque to utilize for best results. If you use anti-seize compound for plug threads, cut back on the amount of torque you use by about a tenth.
4. Apply a Proper Lubing Agent to the Plug Boot
Once the plug is in, you can’t say you’re done just yet. You’ll need to apply the proper lubrication agent to the boot of the spark plug first.
Take a smidge of dielectric grease and spread it around the tip of the boot with the applicator tube. This step could actually be viewed as an extension of number three, because you may need to do it before the plugs are fully installed.
The reason for this? It helps prevent misfires, but it also makes the boot easier to remove for future plug changes. This means if you want to change your plugs on a regular basis, this step can help make your life much easier in the future.
After you’ve got this part done and the plug itself reinstalled, the next step is to reinstall the bolt, coil connector, and vanity cover if applicable. Almost done – just one more very important step.
5. Clean Up Your Area and Reconnect All Loose Components
Connectors, hoses, covers – everything you disconnected to complete the installation should be reconnected once the installation is done. This is why it is good to keep track of where everything is before you start working. Make notes or take pictures if you need to – remember, professional mechanics got their knowledge this way, too.
You’ll also want to clean up your work area. Any loose grime, lubing agents, or other forms of debris should be swept away and wiped from your vehicle’s engine components. Leaving this behind can cause you some big problems later.
As we have seen, knowing how to change spark plugs at home is the same as changing your oil or your tires at home. Being proactive and planning for the future helps you keep your car in better condition, and makes your next DIY mechanics project easier.
A cleaner car is easier to maintain and easier to rely on. Once you have your pre-and-post cleaning/prep phases down to second nature, you can speed up your auto-mechanical endeavors without compromising the efficiency of your procedures.
How to Change Spark Plugs: A Guide for Moving Forward
After you’ve changed your plugs and found they work fine, you’re good to go. But what if they aren’t working properly? The next step would be to visit a licensed mechanic. Does this mean you’re doomed to cough up big bucks every time you need a new plug under your hood?
Not necessarily. Many mechanics can give you insight about what’s wrong with your vehicle and even show you personally. This can give you the knowledge you need to do better work moving forward. Once you have a solid understanding of these basics, it is easier to study up and continue the learning process moving forward.
Knowing how to change spark plugs on your own can be helpful. You could be stranded on the side of the road and need this information. Or, in a less extreme example, you could simply be able to save yourself a few hundred or even a few thousand dollars over the course of your vehicle’s lifespan.
That’s a nice chunk of change – and all it costs is a little time and hard work.
Keyword: how to change spark plugs
See also:
Spark Plug Replacement: Why, When and How
No comments so far.
Be first to leave comment below.